Integrating with Dynamic
Dynamic is a powerful web3 auth developer platform that lets you integrate multiple wallets such as Coinbase Wallet and more into your app or website.
Dynamic comes with Coinbase Wallet built-in. You can play around with a live demo of Dynamic and watch a product walkthrough. In this tutorial, we'll go through how to set up Dynamic with Coinbase as the top wallet in the list of wallets.
You can view the example below in CodeSandbox, and at the end of this guide your adapter will look like this:
Prerequisites
Dynamic works with React today. See the standard getting started guide.
Dynamic is a multi-chain library, and Coinbase is supported on both EVM networks and Solana within the Dynamic adapter.
Step 1: Create a Dynamic account
-
Sign up to get an environment ID
-
Create an organization and a set up your first project
-
Copy your
environmentIDfrom the Dynamic overview page -
(optional) Configure your site's CORS origins
Step 2: Install the Dynamic npm package
You can install Dynamic's SDK with either yarn or npm. We currently support React and NextJS.
npm install @dynamic-labs/sdk-react
# or yarn add @dynamic-labs/sdk-react
Step 3: Configure the SDK
Copy the following snippet into your project and paste in your environmentId:
import { DynamicContextProvider, DynamicWidget} from '@dynamic-labs/sdk-react';

const App = () => (
  <DynamicContextProvider
     settings={{
       environmentId: 'Enter your Environment ID here'
    }}>
    <DynamicWidget />
  </DynamicContextProvider>
);

export default App;
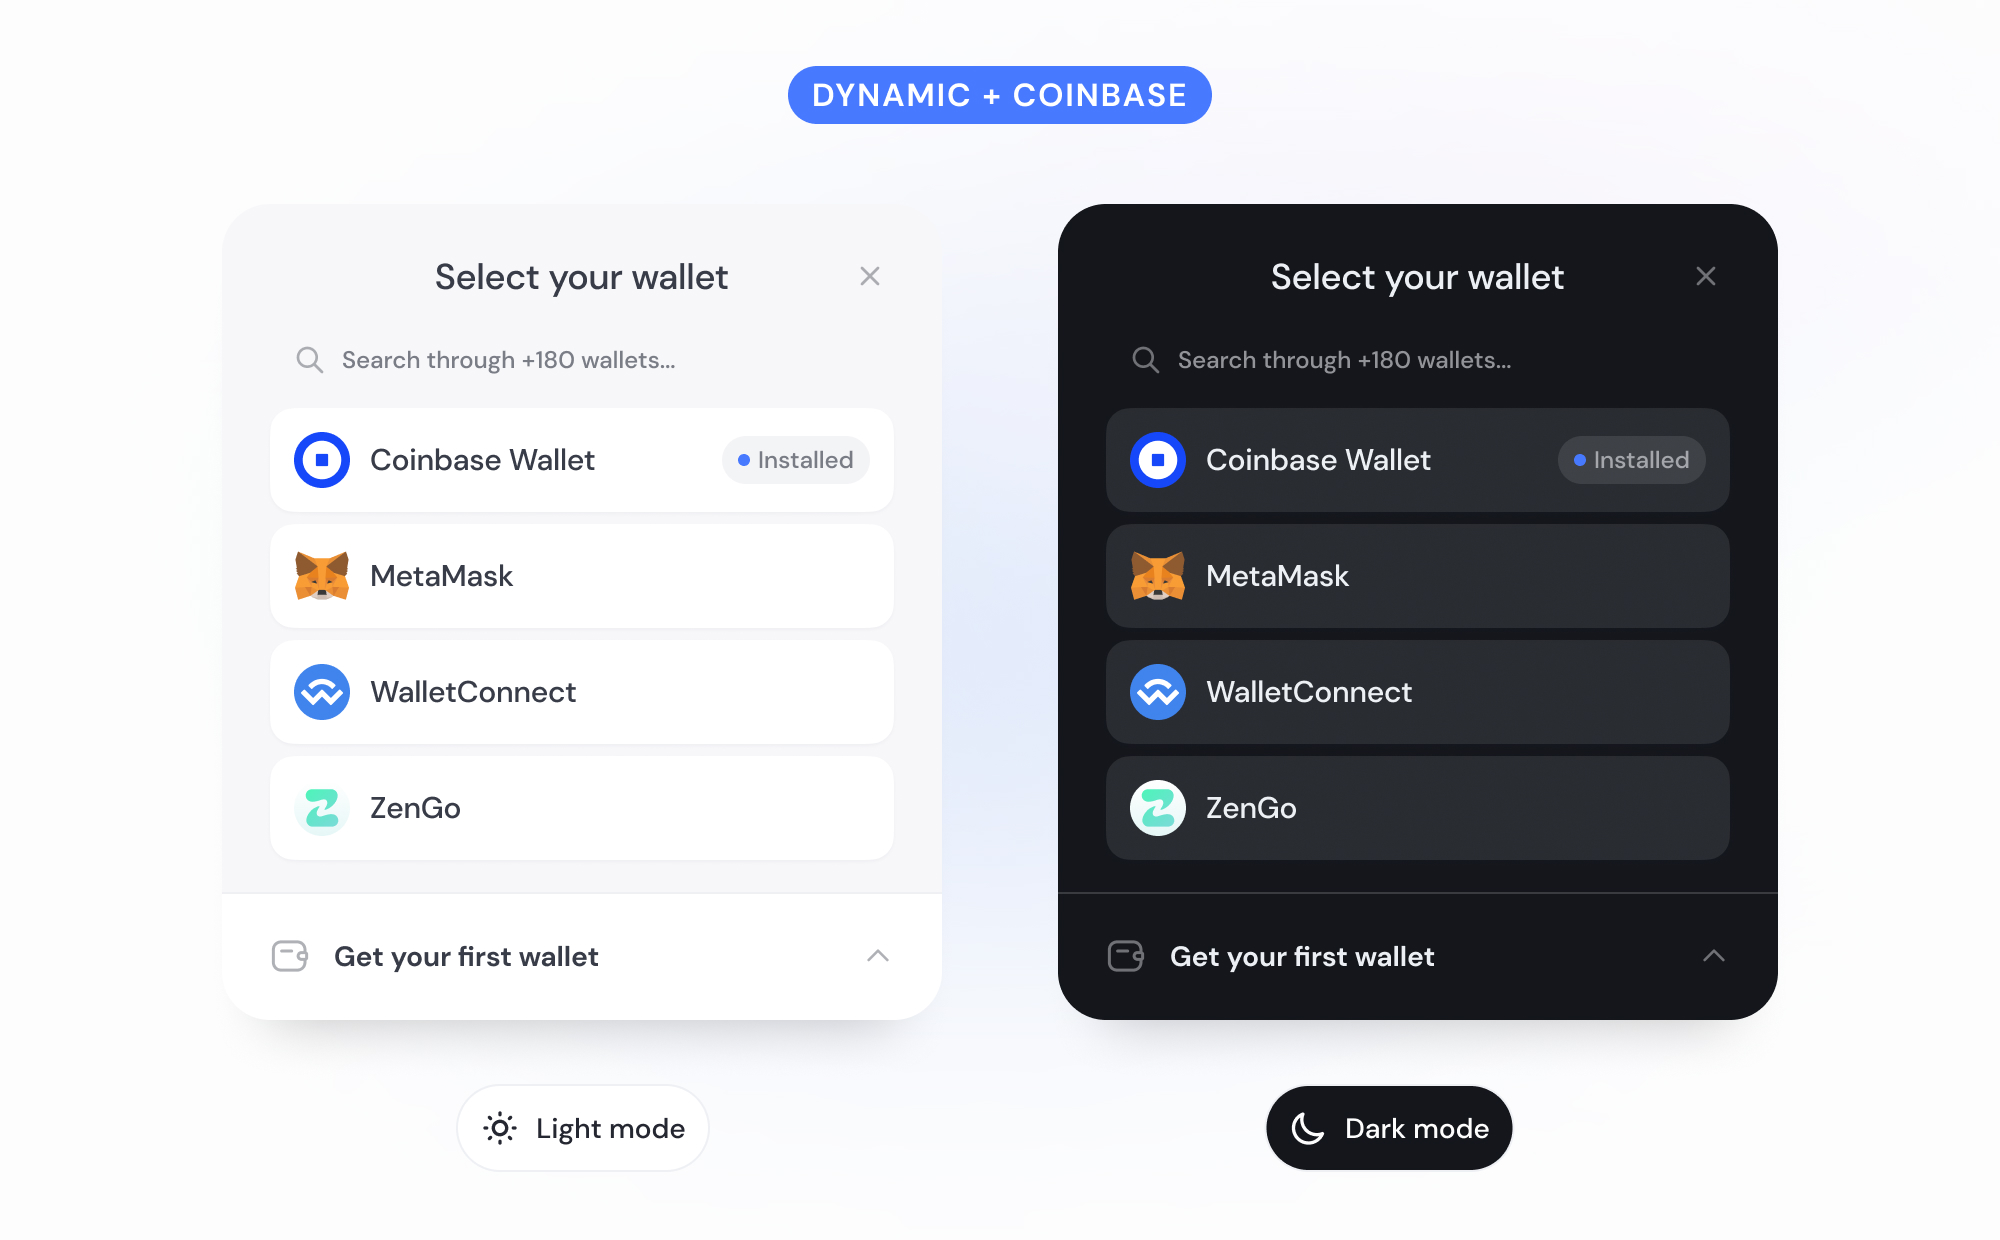
Step 4: Sort Coinbase as the top wallet
Now that we have the basic Dynamic setup, we'll sort the Coinbase wallet to the top, define the first 4 wallets to show, and filter the rest of the wallets to only appear behind a search functionality.
import { DynamicContextProvider, DynamicWidget, SortWallets,defaultNumberOfWalletsToShow } from '@dynamic-labs/sdk-react';
....
 <DynamicContextProvider
  settings={{
    ...
    walletsFilter: SortWallets(['coinbase', 'metamask', 'walletconnect', 'zengo']);
    defaultNumberOfWalletsToShow: 4;
    ...
    }
  }}
>
Step 5: Set Coinbase as the recommended wallet
In addition to setting Coinbase as the top wallet, you can also configure it to be the recommended wallet for users that click the Get your first wallet button. To do so, add the following snippet to your settings:
 <DynamicContextProvider
  settings={{
    ...
    newToWeb3WalletChainMap: {
       primary_chain: "evm",
       wallets: {
           evm: "coinbase"
       }
    }
    ...
    }
  }}
>
See it in action
Now that you put things together, you can see a CodeSandbox of the finished product here.
Next steps
Now that you set up Dynamic, there are many additional things you can explore:
- Log in with your wallet, and see data in Dynamic's developer dashboard - Now that your widget is set up locally, try to log in with a wallet. As soon as you do, head over to the Dynamic developer dashboard and click on user management and analytics. You'll be able to see your user show up!
- Customize your SDK design - There are many ways to customize the Dynamic modal to fit your needs (you can explore them in the SDK configuration section), but to start, we suggest setting a light/dark mode and a primary color for the modal, which you can do in the design section of your developer dashboard.
- Explore how to use the Dynamic SDK - After your users connect their wallets, you'll want to interact with them for various reasons. You can read more about the SDK in Dynamic's docs.
For support, you can also join Dynamic's Slack Community.